

Application Security Group
In this lab you will get an overview of application security groups (ASG)


learn how to do the following:
Log in to the Azure CLI
Create an ASG
Create and log in between two VMs
Step 1 - Logging In
Microsoft Azure is a cloud computing service offered and operated by Microsoft that can be used to host your data and applications in the cloud.
Run this command to log in to the Azure account:
az login -u $username -p $password
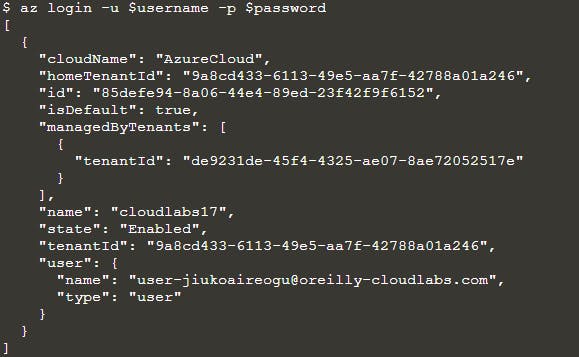
After you log in, you should get a block of JSON with details about your sign-in.
You can view the Azure account username with this command:
echo $username

You can view the Azure account password with this command:
echo $password
Step 2 - Getting Set Up
In this lab we are going to create an application security group (ASG), which provides a convenient abstraction to not maintain IP addresses in a network security group.
Let's say we want to enforce this network structure:

Maintaining these rules in an NSG can be tedious. That's why we are going to create an ASG to streamline the connecting of networks and enforcing the desired rules.
We are going to create an NSG on a virtual network, configure the ASGs around resources, and create two VMs to test the traffic filter.
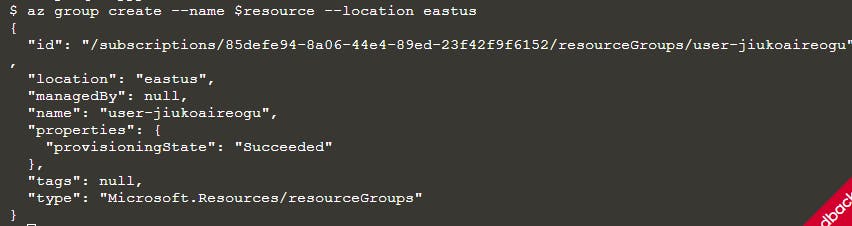
First we need a resource group. O'Reilly provides a resource group with a name saved to the variable $resource, which was created with this command:
az group create --name $resource --location eastus
Step 3 - Creating the ASGs
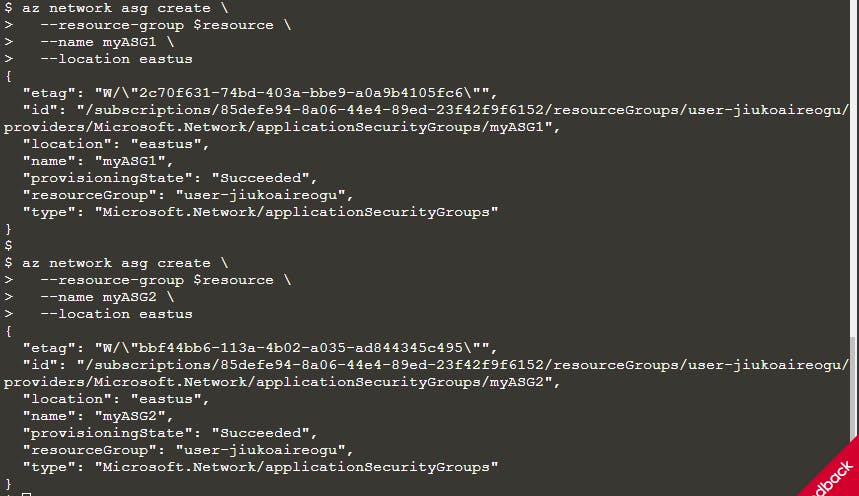
Next let's create two ASGs using az network asg create. This will enable you to group resources with similar traffic filter rules:
az network asg create \
  --resource-group $resource \
  --name myASG1 \
  --location eastus

az network asg create \
  --resource-group $resource \
  --name myASG2 \
  --location eastus
Next we need to create an NSG:
az network nsg create \
  --resource-group $resource \
  --name myNSG
Now we must create two new rules in our NSG with the command az network nsg rule create. We will allow inbound internet traffic from myASG1 with ports 80 through 443. This will allow web traffic:
az network nsg rule create \
  --nsg-name myNSG \
  --resource-group $resource \
  --name AllWebAllowed \
  --access Allow \
  --protocol Tcp \
  --direction Inbound \
  --priority 100 \
  --source-address-prefix Internet \
  --source-port-range "*" \
  --destination-asgs "myASG1" \
  --destination-port-range 80 443
Next we will create another rule to allow SSH traffic to myASG2. We will give it slightly less priority than the previous rule (so they don't clash on shared ranking) and limit to port 22:
az network nsg rule create \
  --resource-group $resource \
  --nsg-name myNSG \
  --name AllowAllSSH \
  --access Allow \
  --protocol Tcp \
  --direction Inbound \
  --priority 110 \
  --source-address-prefix Internet \
  --source-port-range "*" \
  --destination-asgs "myASG2" \
  --destination-port-range 22
Note that in production, we would typically use a private connection or VPN rather than exposing port 22 to the internet like this.
Step 4 - Creating the VMs
Let's create a virtual network and a subnet inside it. Note for the az network vnet subnet create command, we are tying it to the network security group we just created:
az network vnet create \
  --name myVN \
  --resource-group $resource \
  --address-prefixes 10.0.0.0/16

az network vnet subnet create \
  --vnet-name myVN \
  --resource-group $resource \
  --name mySubnet \
  --address-prefix 10.0.0.0/24 \
  --network-security-group myNSG
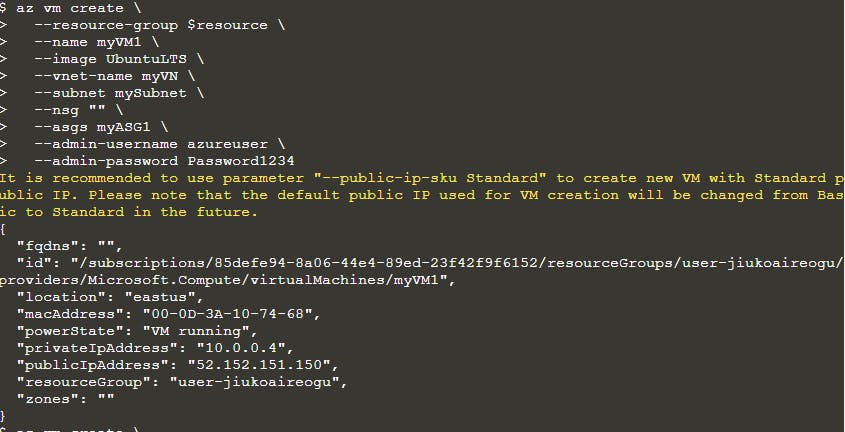
Let's create a virtual machine to act as our web server. We will put it on the subnet and force the nsg argument to be blank so a default NSG is not applied. We are going to have the admin-password be Password1234. Of course, your security in real life would use a better (more concealed) password as well as SSH and keys:
az vm create \
  --resource-group $resource \
  --name myVM1 \
  --image UbuntuLTS \
  --vnet-name myVN \
  --subnet mySubnet \
  --nsg "" \
  --asgs myASG1 \
  --admin-username azureuser \
  --admin-password Password1234
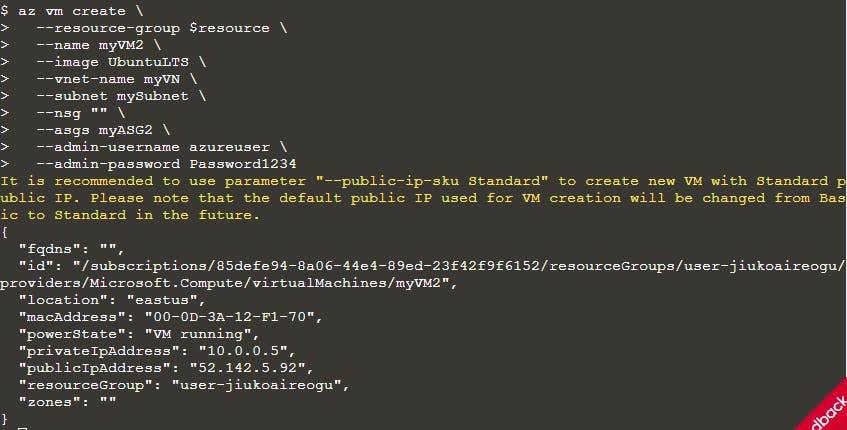
Finally, let's create the backend VM that will act as the backend server:
az vm create \
  --resource-group $resource \
  --name myVM2 \
  --image UbuntuLTS \
  --vnet-name myVN \
  --subnet mySubnet \
  --nsg "" \
  --asgs myASG2 \
  --admin-username azureuser \
  --admin-password Password1234
After that runs, extract the public IP address of the virtual machine and save it to a variable:
myIp=$(az vm show -d --resource-group $resource --name myVM2 --query publicIps -o tsv)
Step 5 - Testing and Cleanup
Let's test this out. Log in to the second virtual machine acting as the backend:
ssh azureuser@$myIp
Notice we get in because we allow connecting through port 22. From that machine, we can now bounce to the other machine acting as the frontend. But here we can do it by addressing as myVM1 rather than an IP address:
ssh azureuser@myVM1
We would not have been able to log in to myVM1 through the internet because it was restricted in our rules. But because we were inside the same virtual network with myVM2, we were able to log in to that machine. This effectively shows our ASGs are working! You will also find that if you go back to the frontend myVM1, you can access outbound traffic to the internet because our rule allows that.